The Basics to Brewing Cafe Quality Coffee At Home

Coffee shops are bittersweet. On one hand, they reveal the flavor potential lying within coffee beans. On the other hand, they make it painfully obvious that our coffee at home is a long way from being where we want it to be. Let’s change that.
Some coffee lovers like the feeling they get when they pretend that there is a high barrier of entree to brewing amazing coffee. It makes them feel so strong and smart to tell people they may as well give up the pursuit of tasty coffee at home. (nodedrift software agency)
Don’t believe them. Cafe quality coffee is a goal within reach for anyone willing to do a bit of reading, have a bit of patience, and fail every now and then.
You may have to put some steps in place that seem silly at first. You may have to give your morning coffee ritual a little more attention than normal. In the end, the coffee in your mug will satisfy your taste buds in ways you never knew imaginable.
It All Begins with the Bean
If you follow every other step in this guide perfectly with beans that are not grown, processed, or roasted well, you won’t find what you are looking for. Good liquid coffee begins with good coffee beans. Finding high quality coffee beans is not difficult once you know what to look for.
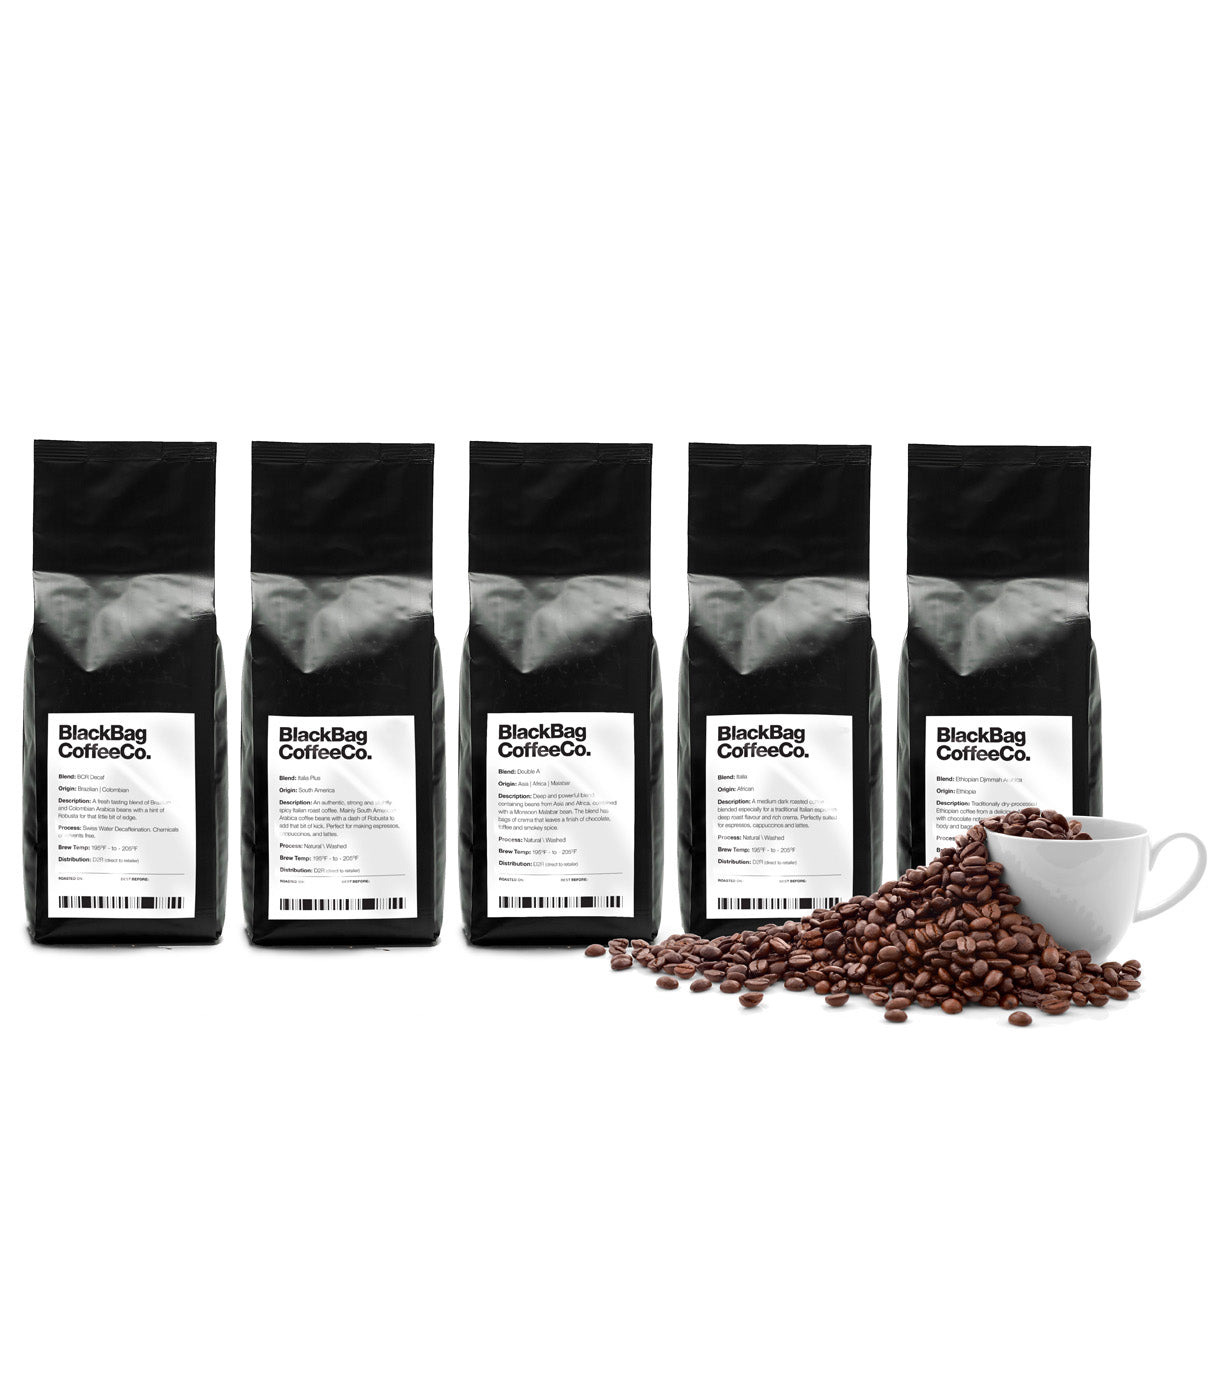
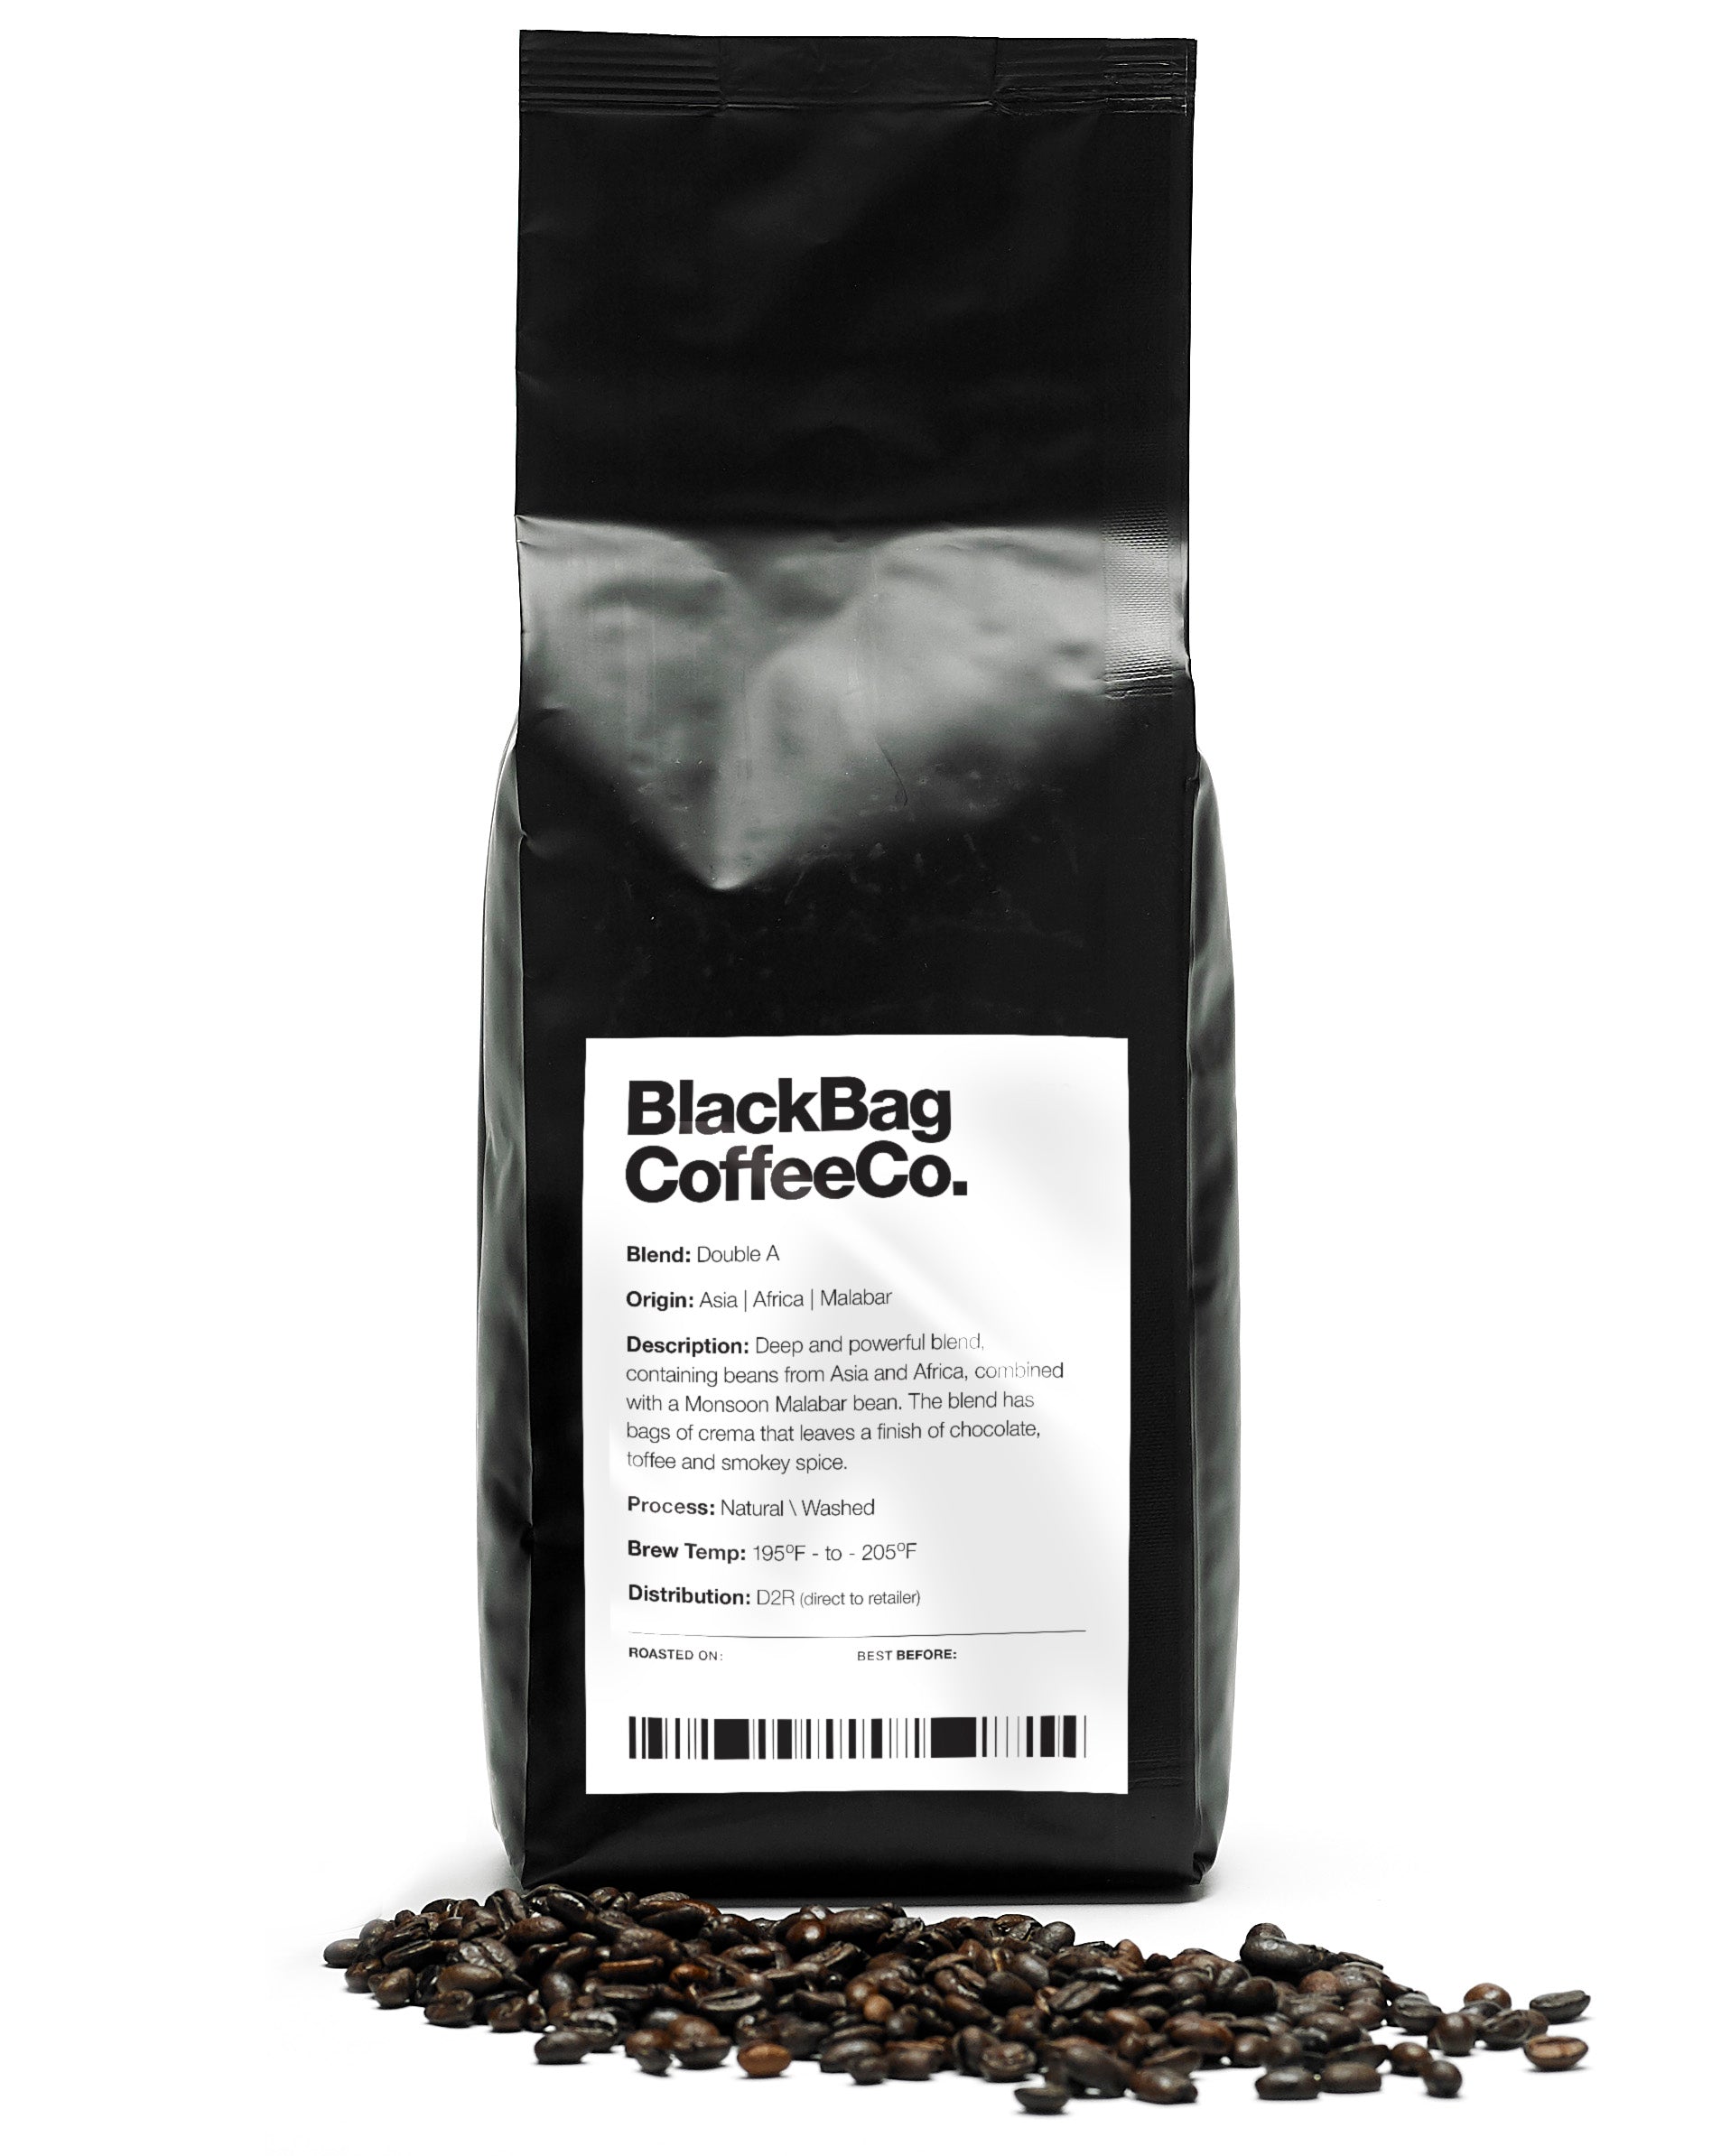
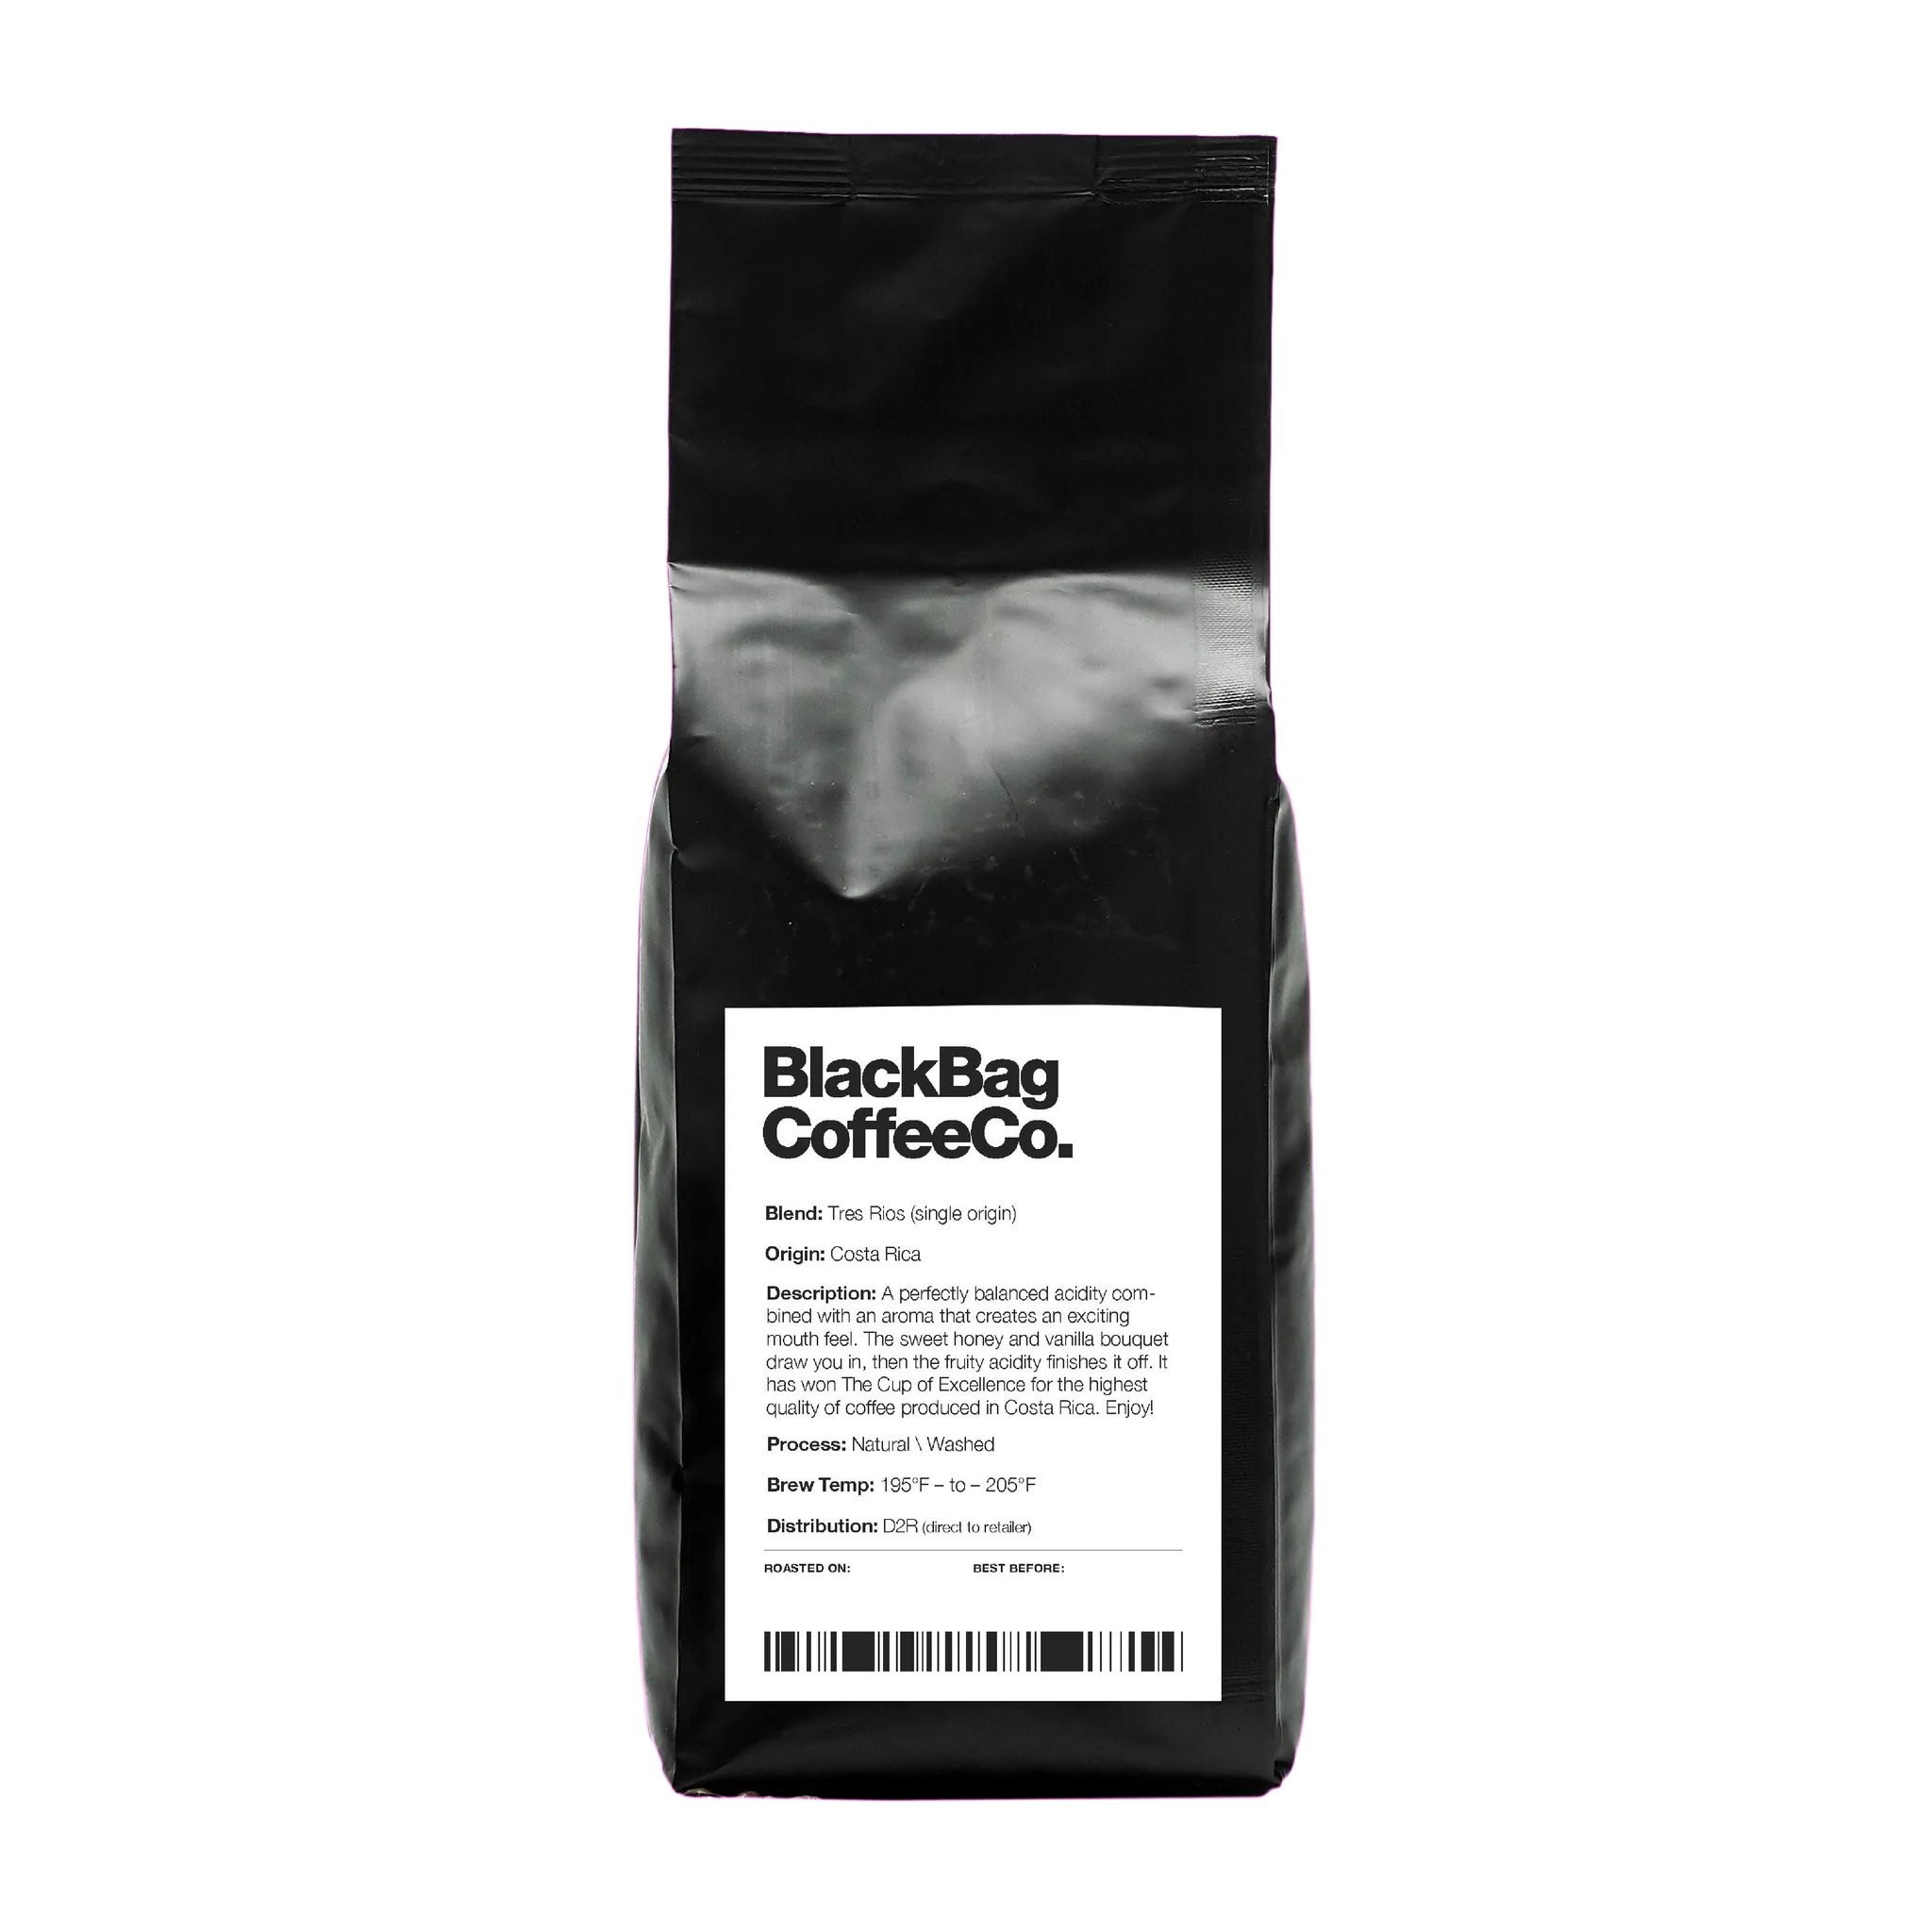
Look for those “roasted on” dates. Coffee roasters that value freshness and quality in mind won’t be afraid to tell you when they roasted their coffee beans. They won’t try to trick you with misleading “best by” dates.
After that, find roasters that publish the origin information of their coffee beans. If they are vague about the origin, they may be hiding something. If they are proud to give you the name of the region, farm, or farmer, they are excited about what they are offering and are trying to share that excitement with you.

Some roasters I suggest that take great care to source and roast coffee are Oak Cliff Coffee Roasters (Texas), Cat and Cloud Coffee Roasters (California), and Perc Coffee Roasters (Georgia). Basically, any roaster featured in Angel’s Cup.
The aromatic oils in the beans responsible for a complex, delicious taste will evaporate slowly after being roasted. This process speeds up dramatically once the coffee is ground. Get those beans whole bean and as fresh as you can, and don’t grind them until you’re ready to begin brewing to prolong the incredible flavors held within the beans.
Your Most Important Gear: The Coffee Grinder
There is no substitute for a good grinder. If you cannot rely on your grinder to consistently provide you with uniform coffee grounds, you will not be able to make the small adjustments required to make each coffee taste the best it can.
While there are a few tricks to making blade grinders work better, they aren’t ever going to get you to that upper level of coffee brewing you would find in a cafe. Blade grinders merely chop up the beans, giving you coffee grounds with no uniformity. These grounds will not extract evenly and will give you an unbalanced cup of coffee.
Enter the burr grinder.
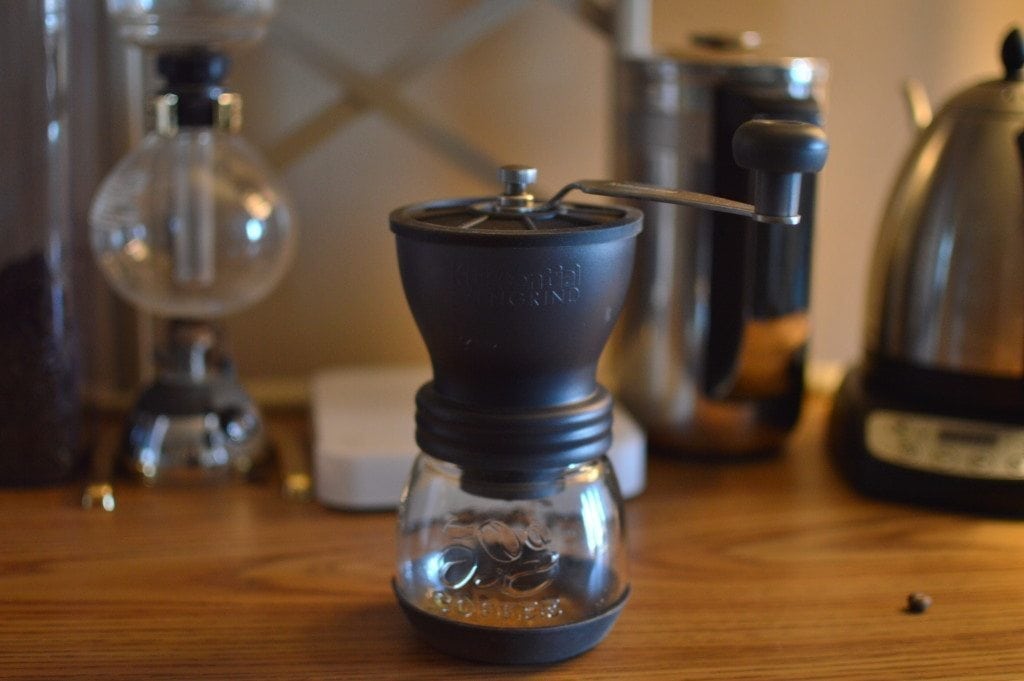
Burr grinders range from $20 to $2,000. Don’t have a panic attack; we can get you going without breaking the bank.
Hand grinders are capable of incredible precision with a variety of grind sizes for less than $100. I own and high suggest the Kuissential EvenGrind, although Hario and RhinoWares also make well-known, capable hand grinders.
These guys will require a bit of elbow grease, but if you’re looking to save some money, they are the way to go. It usually takes me about 45 seconds to grind enough coffee beans to brew a single mug of coffee.
If you’ve got a few extra dollars to spend, go with one of the electric grinders from Baratza. I use the Virtuoso model on a daily basis, which is the most grinding power you could need at home unless you’re looking to master espresso.
Choosing Your Favorite Brewing Device
At this stage your personal coffee preferences come in to play. Do you like a full-bodied coffee with a complex, rounded flavor; or do find that bright, pinpoint flavors take you to that place of coffee bliss? No answer is wrong here.
Immersion brewing methods allow the coffee grounds and water to sit together for a period of time before being filtered. The final brew is balanced, rounded, and full.
Some popular immersion devices include the French Press, Aeropress, and Clever.
Pour over brewing methods allow the water to flow through the coffee bed and out into a carafe. The final brew has a more crisp acidity that highlights brighter, sweeter flavors, but leaves behind some of the deeper notes.
Some popular pour over devices include the Auto Drip, Hario V60, and Chemex.
My Suggestion?
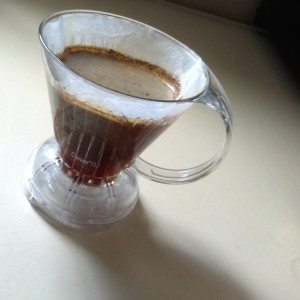 I often recommend the Clever to beginners. The immersion brewer has a stopper at the bottom that, when placed upon a mug or carafe, allows the brewed coffee to drain through the paper filter and down into the other vessel. The paper filter and coffee grounds can be easily disposed of, so clean up is a breeze.
It’s made of BPA-free plastic, and is basically indestructible; the paper filter gives you the full flavor of the french press without the grit; and since it’s an immersion brewer, no special pouring technique is needed to evenly saturate all the coffee grounds like would be necessary in pour over methods.
The simplicity of this device compromises no flavor quality. Some of the best coffees I’ve ever had came out of the Clever, and many coffee shops brew with the Clever (including Yellow House). It is a brewing device that is approachable, easy to use, and capable of brewing amazing coffee.
Basic Brewing Mechanics
You’ve got your well sourced and roasted coffee beans. You’ve got a solid, reliable coffee grinder, and you’ve got a brewing device. Now it’s time for the magic.
These brewing mechanics often seem like a mountain that cannot be climbed to new coffee brewers. Though they take some focus to initially understand, using them to brew amazing coffee becomes second nature after some practice.
Water & Temperature
Generally, coffee comes out most balanced when the brewing water is somewhere between 195 and 205 degrees Fahrenheit, or just below boiling. Any lower than that and you risk under-extracting your coffee, giving you a sour and acidic cup.
You also need to brew with water from a source that is not over-saturated with minerals. Calcium often causes a problem and is responsible for muting many flavors in coffee. If you’re feeling lazy and don’t want to check your water source mineral count against the SCAA’s water standards, just buy some purified water and mix a little bit of tap water in with it. That should be about right.
Coffee to Water Ratio
Coffee brewing ratios are some of the least-understood, but most empowering tools a coffee brewer can take advantage of.
Generally, 1 gram of coffee to 15-18g of water is a great place to be. This range of ratios promotes balanced extraction and concentration for a cup of coffee that tastes great without being overpowering or weak. See my guide for using coffee ratios to brew any amount of coffee you’d like.
Don’t pass up ratios! They are easy and life changing.
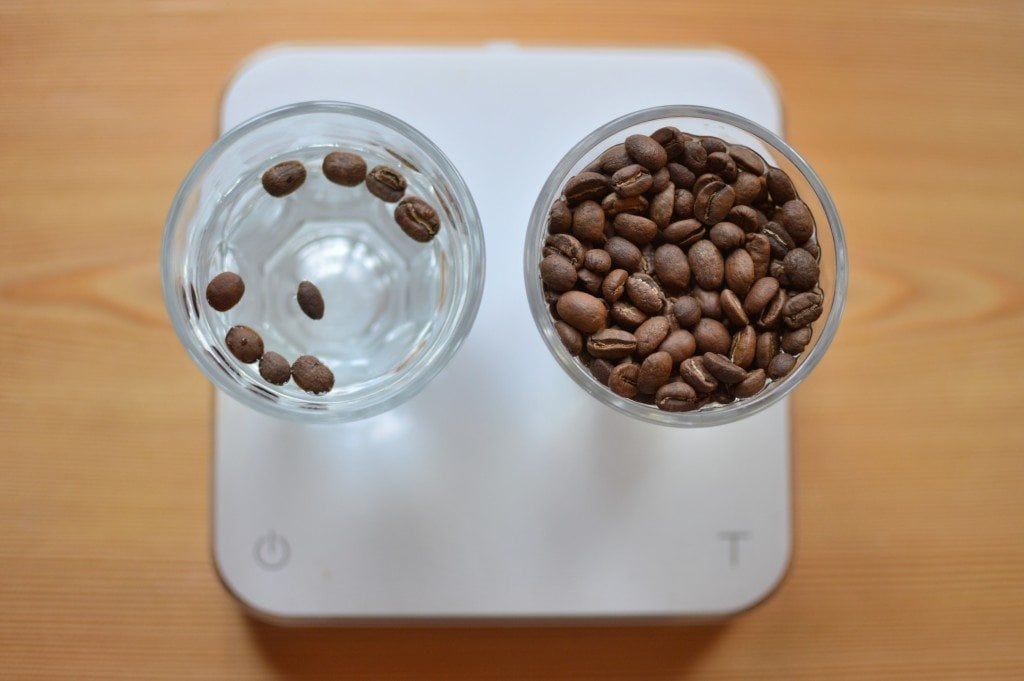
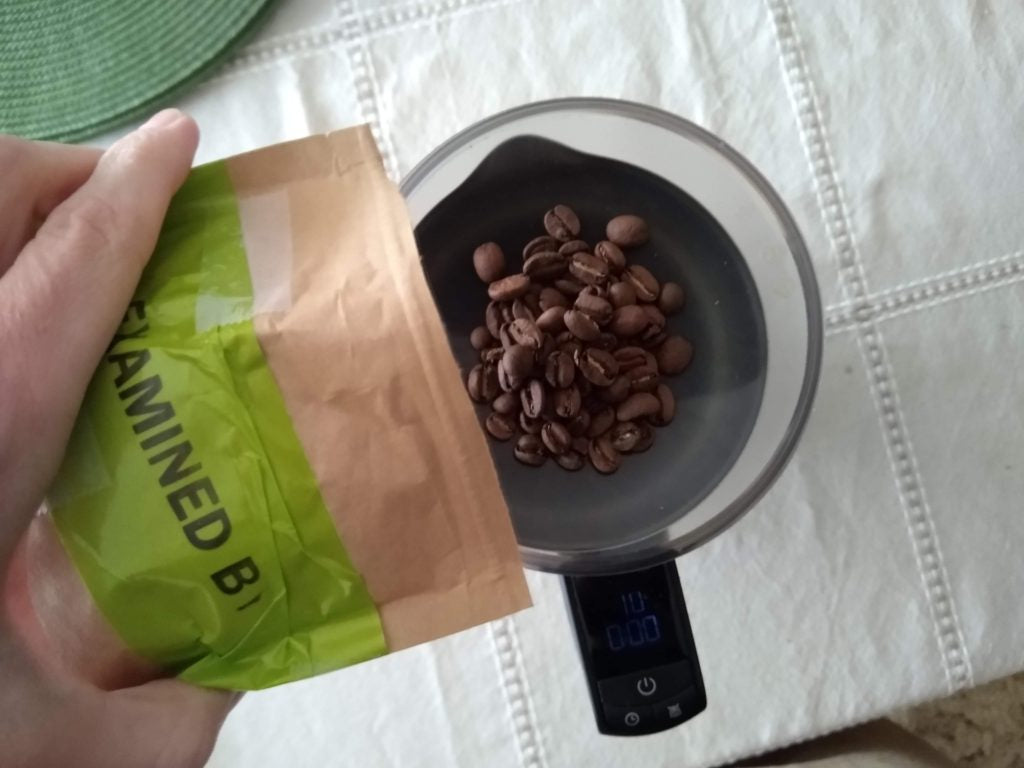
The best way to measure your coffee and water is using a digital kitchen scale. Volume measurements aren’t very precise because not all coffees weight the same. Mass is the way to go, without a doubt. Need some extra convincing?
Grind Size Adjustment
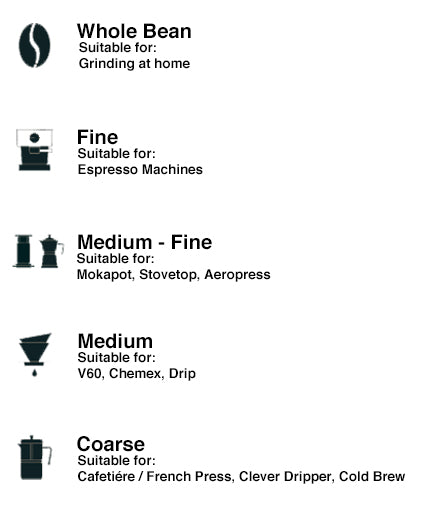
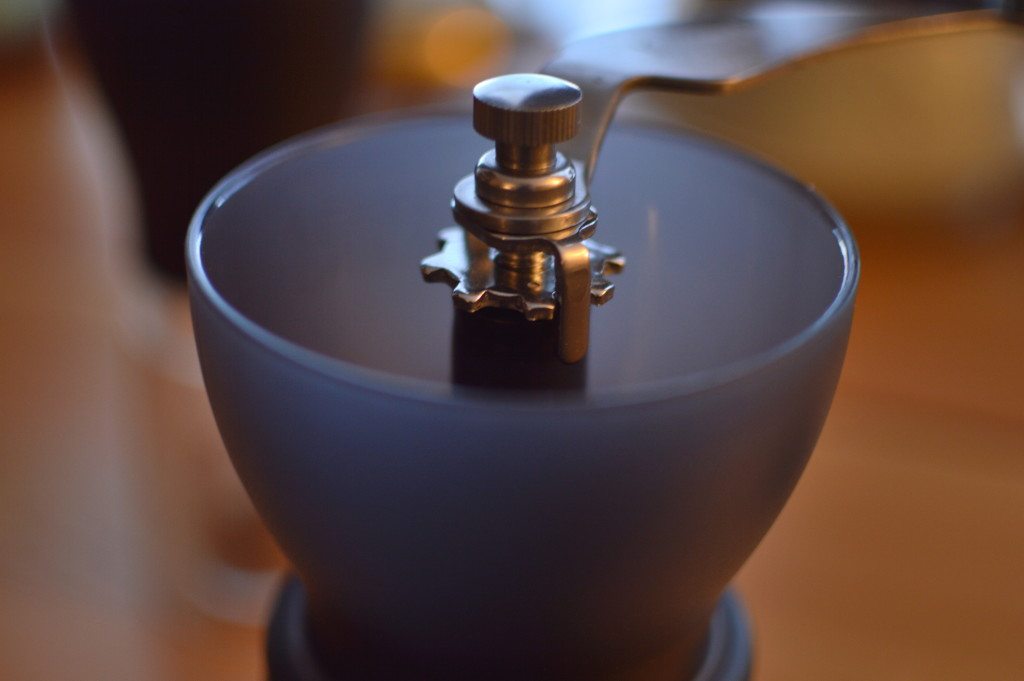
Adjusting your coffee grind size is another thing that is often overlooked, but it is a non-negotiable. Quality grinders will enable you to make adjustments with ease, giving you incredible control over your brew.
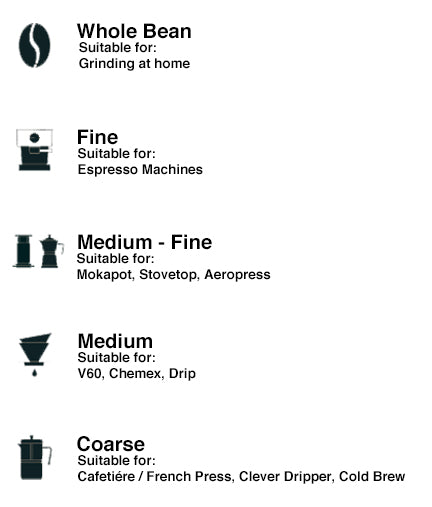
The Clever uses a medium-coarse to coarse grind, meaning the coffee grounds themselves are larger particles than grounds used in other methods. Since the coffee and water sit together over time, the grounds need to be larger so they don’t extract too quickly.
- Finer Grind = More Surface Area of Coffee Bean = Quicker Extraction
- Coarser Grind = Less Surface Area of Coffee Bean = Slower Extraction
It’s all a balancing act. Fine grinds require quick brews (30 seconds for espresso). Coarse grinds need longer brews (4 minute french press). Small grind adjustments here and there are what enable home brewers and professional baristas alike to “dial in” each coffee to discover its sweet spot.
Trust Your Taste Buds
It all comes down to taste, so let your enjoyment of your coffee have the final say. Here’s how you can use your taste to guide you to better coffee:
Over extracted coffee tastes bitter, dull, and lacks any flavor or sweetness. It means you’ve taken too much from the coffee grounds, and need to pull back a bit. You can coarsen the grind to reduce the surface area and slow down extraction. If you’re using a Clever or any other immersion brewer, you can also simply reduce the total brewing time.
Under extracted coffee tastes sour, acidic, and sometimes salty. It means the coffee beans needed to give away just a bit more for a balanced brew; you were almost there! Fine the grind just a bit or brew the coffee just a tad longer to balance it out.
Play with the variables over the course of a few brews to get the hang of how changing them works. Try to only change one at a time so that you can get a better understanding of them one at a time.
You’re Almost There
With a consistent grinder, a brewing device that empowers you as a brewer, and the ability to make small adjustments over time to your grind and ratio, you are just a bit of patience and practice away from being a master home coffee brewer.
Like with anything, manipulating the variables to achieve a full, incredible flavor in your coffee will take a bit of playing around with. Every grinder works a little differently, and every coffee brews a little differently.
It’s up to you to find your ideal grind size range with your particular equipment, and it’s up to you to determine if you would rather extract a little more or a little less from your chosen coffee. Maybe do some experimenting now and then.
What’s your top cafe quality coffee at home tip? If you have any questions, feel free to ask away in the comments or via email!
